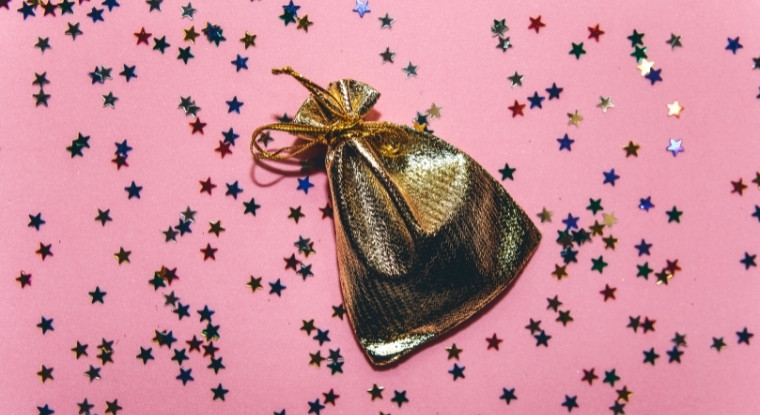
A small gift bag is a great way to show someone you care, whether for a birthday, holiday, or just because. Making your gift bag is easy and only requires a few supplies. With a bit of time and effort, you can create a unique and personal gift bag that will be sure to impress.
To start, you will need to gather your supplies. You will need some wrapping paper, scissors, tape, and a stapler. Once you have all your supplies, you can assemble your gift bag.
Start by cutting a piece of wrapping paper to the desired size. You will want to ensure the paper is large enough to wrap around the item in the bag. Once you have a perfect size, fold the paper in half and staple the sides closed.
Now, it’s time to decorate your gift bag. Get creative and have fun with it! You can use ribbon, stickers, or fabric to personalize your bag. Once you’ve finished decorating, you can fill your bag with whatever you’d like.
Now that your gift bag is complete, all that’s left to do is give it to someone special. They will love the thought and effort you put into making it!
DIY Small Gift Bag Easy Ways
Making a Small Gift Bag Easily
- Cut a piece of construction or wrapping paper to the desired size for your small gift bag.
- If you want a rectangular-shaped bag, cut the paper, so it is twice as wide as tall.
- For a square-shaped bag, make sure the piece of paper is an even square.
- Fold the piece of paper in half lengthwise and crease well with a bone folder or your fingers.
- Unfold the paper and then fold each side towards the center crease line, creating sharp creases.
- Re-fold along the original center crease line so that all four folds face upwards.
- Flip the folded paper over so that the folds are now facing downwards.
- Take two opposite corners and bring them together so they touch, creating a triangular shape at the bottom of your bag.
- Crease well and unfold.
- Repeat with the remaining two corners.
- Cut two strips of contrasting colored paper or ribbon approximately 12″ long each.
- Place each strip horizontally across the top middle of your bag, about 1″ down from the top edge. 4b)
- To finish assembling your small gift bag, re-fold along all four crease lines, tucking in any loose edges as you go along.
- Your finished bag should have clean lines and sharp corners – fill it with treats or small gifts and enjoy.
How Do You Make a Gift Bag Step by Step?
When it comes to giving presents, first impressions count. So why not make your gift bag make an impact? Creating a personalized gift bag is easy and only requires a few supplies.
Plus, it’s a great way to use scraps of fabric or wrapping paper. Here’s how to make a gift bag step by step:
1. Cut two pieces of fabric or wrapping paper, each measuring 12 “x16”. If using fabric, iron the pieces to remove any wrinkles.
2. Place the two pieces with wrong sides together and sew along the three open sides, leaving a 1/4″ seam allowance. If you’re using paper, glue the three sides together.
3. Turn the bag right side out and press the seams flat. Topstitch along all four seams if desired.
4. Fold down the top of the bag about 2″, then fold over again so that the raw edge is hidden inside the fold. Pin in place, or use double-sided tape to keep everything secure while you work on embellishing the bag.
5. Add handles by cutting two strips of fabric or ribbon about 18″ long each. Fold in half lengthwise and press before attaching them to either side of the top of the bag with pins or double-sided tape (sew them in place if using fabric). Trim away any excess material around the handles once they’re attached securely.
6. Finish off your gift bag by embellishing it with lace, sequins, buttons, or anything else you like!
What Can I Use If I Don’t Have a Gift Bag?
If you don’t have a gift bag, you can use tissue paper to make your own. You will need the following:
- Tissue paper
- Scissors
- Ruler or measuring tape
- Pencil
- Double-sided tape or glue stick
- Start by folding the tissue paper in half lengthwise. Fold it in half again, then fold it one more time, so you have a long, skinny strip of folded tissue paper.
- Use scissors to cut out a rectangle from the center of the folded strip. The size of the rectangle will depend on how big you want your finished gift bag to be. For example, if you want a finished bag that is 4. inches wide by 6 inches tall, then you would cut out a 4-inch by 6-inch rectangle from the center of your strip of folded tissue paper.
- Unfold the tissue paper strip so that all folds are now open. You should have four layers of tissue paper with a rectangular hole cut out from the center.
- Place double-sided tape or glue along both sides of the rectangles cutout from Step 2 (one on each side).
- Then place double-sided tape or glue along one short end and one long end of the entire strip (4 sides with an adhesive). This will seal up your gift bag once it is filled with goodies!
What Material is Used for Gift Bags?
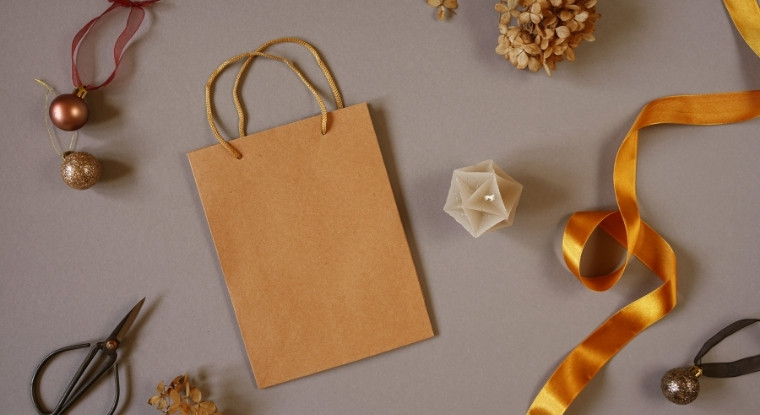
Gift bags are usually made from two materials: paper or fabric. Paper gift bags are the most common type of gift bag. They are usually made from Kraft paper, which is a type of paper that is brown and has a rough texture.
Kraft paper is recyclable, making it a good choice for those who want to be eco-friendly. Fabric gift bags are less common than paper ones, but they can be just as stylish. Fabric gift bags are often made from silk, satin, or velvet.
These fabrics give the bag a luxurious look and feel.
How Do You Decorate a Simple Gift Bag?
When decorating a simple gift bag, the options are endless! You can go for a classic and chic look by wrapping the bag in tissue paper and adding a bow or get creative with washi tape, stickers, or even fabric scraps. No matter your route, the key is to have fun and let your personality shine through.
If you’re looking for something quick and easy, try wrapping the bag in tissue paper and adding a bow. This is a timeless look that always looks polished. For a unique approach, try using washi tape or stickers to decorate the outside of the bag.
Add some interest by attaching fabric scraps or ribbons to the handles. Whatever you do, make sure it reflects your style – that’s what gift-giving is all about!
How to Make a Gift Bag Step-by-Step?
When it comes to giving presents, first impressions are everything. That’s why it’s important to consider how you wrap your gifts. A beautiful gift bag can elevate any present, no matter its cost or value.
Plus, once you know how to make a gift bag, you’ll be able to whip one up in no time! Here’s a step-by-step guide on how to make a gift bag:
1. Gather your materials. You will need a sheet of wrapping paper, scissors, tape, and ribbon. If you want to get fancy, add embellishments like stickers or confetti.
2. Cut the wrapping paper in half lengthwise. Then fold each piece in half widthwise so that you have four equal panels of paper.
3. Take two panels and overlap them slightly in the middle, forming a cross shape. Tape the overlapping edges together to secure them.
How to Make a Gift Bag Out of A4 Paper?
Do you have some extra A4 paper and need help with what to do with it? Well, why not put it to good use and make a cute little gift bag? Here’s how:
1. Start by folding the paper in half lengthwise. Then, fold it in half again to have a small square.
2. Next, take one corner of the square and fold it over to meet the opposite side. Repeat this step with the other three corners.
3. Once all four corners are folded over, flip the paper over so that the folds are on the inside.
4. To make the handles for your bag, take each side of the paper and fold them towards the center about an inch or so. Then, fold them over once more so that they’re nice and snug against the sides of the bag.
5. Now, your gift bag is complete! Add whatever goodies you’d like inside, and voila – you’ve got yourself a lovely handmade present!
11 Easy Steps in Making Gift Bags Easily
Making your gift bags is a great way to save money and add a personal touch to your gifts. Here are 10 easy steps to make your gift bags:
1. Gather your supplies. You will need some paper, scissors, tape, and ribbon. You can also use embellishments like stickers or stamps to decorate your bag.
2. Cut the paper to the size you want for your bag. Fold the paper in half lengthwise and crease it well.
3. Open the paper and fold the sides towards the center crease. Crease these folds well too.
4. Fold the bottom of the paper up to meet the top of the paper at the center crease. Again, creasing well .now you should have a long, skinny rectangle. This is going to be one side of your box.
5. Open up the rectangle and cut one of the corners at an angle, about an inch from the point.
6. Take that cut-off piece, overlap it with the corner opposite it, and tape it down.
7. Do the same thing with the other two corners.
8. Now, you should have a long skinny rectangle with all four corners taped down.
9. Turn it over, so the taped sides face down.
10. Fold each side towards the center line again and tape shut.
11. decorate as desired! Adding a personalized touch to your gifts is easy with homemade gift bags!
Follow these 11 simple steps to make beautiful, unique gift bags for any occasion!
In Summary
A small gift bag can be made easily and quickly with a few supplies. All you need is some paper, a stapler, and some ribbon. With creativity, you can make a small gift bag perfect for any occasion.
Making your small gift bag is a great way to save money and add a personal touch to your gift. Plus, it’s a lot of fun! So get creative and start stapling!